
Appearance
Projection Mapping & Warp/Blend
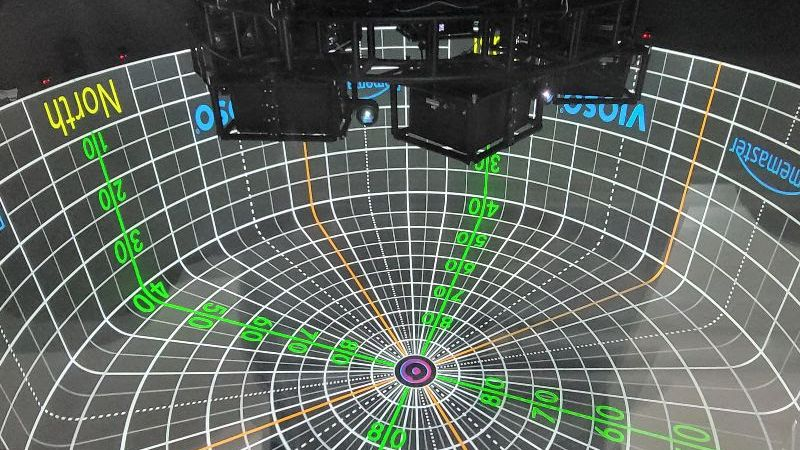
Exaplay 3 integrates with VIOSO for professional geometric warping and edge blending across multiple projectors.
What Is Warp/Blend?
When multiple projectors cover the same surface (a curved screen, a building facade, or a multi-projector flat screen), two corrections are needed:
- Geometric warping — corrects lens distortion and keystoning so the image aligns with the physical surface.
- Edge blending — fades the overlapping region between adjacent projectors so the join is invisible.
VIOSO handles both using a calibration file (.vwf) produced by its auto-calibration software.
Loading a Calibration File
- Open Config → Outputs.
- Select the output you want to warp.
- Click Load Warp File and choose the
.vwffile produced by VIOSO Calibrator. - The warp is applied immediately; toggle it on/off with the Warp Enable switch.
Manual Warp Editor
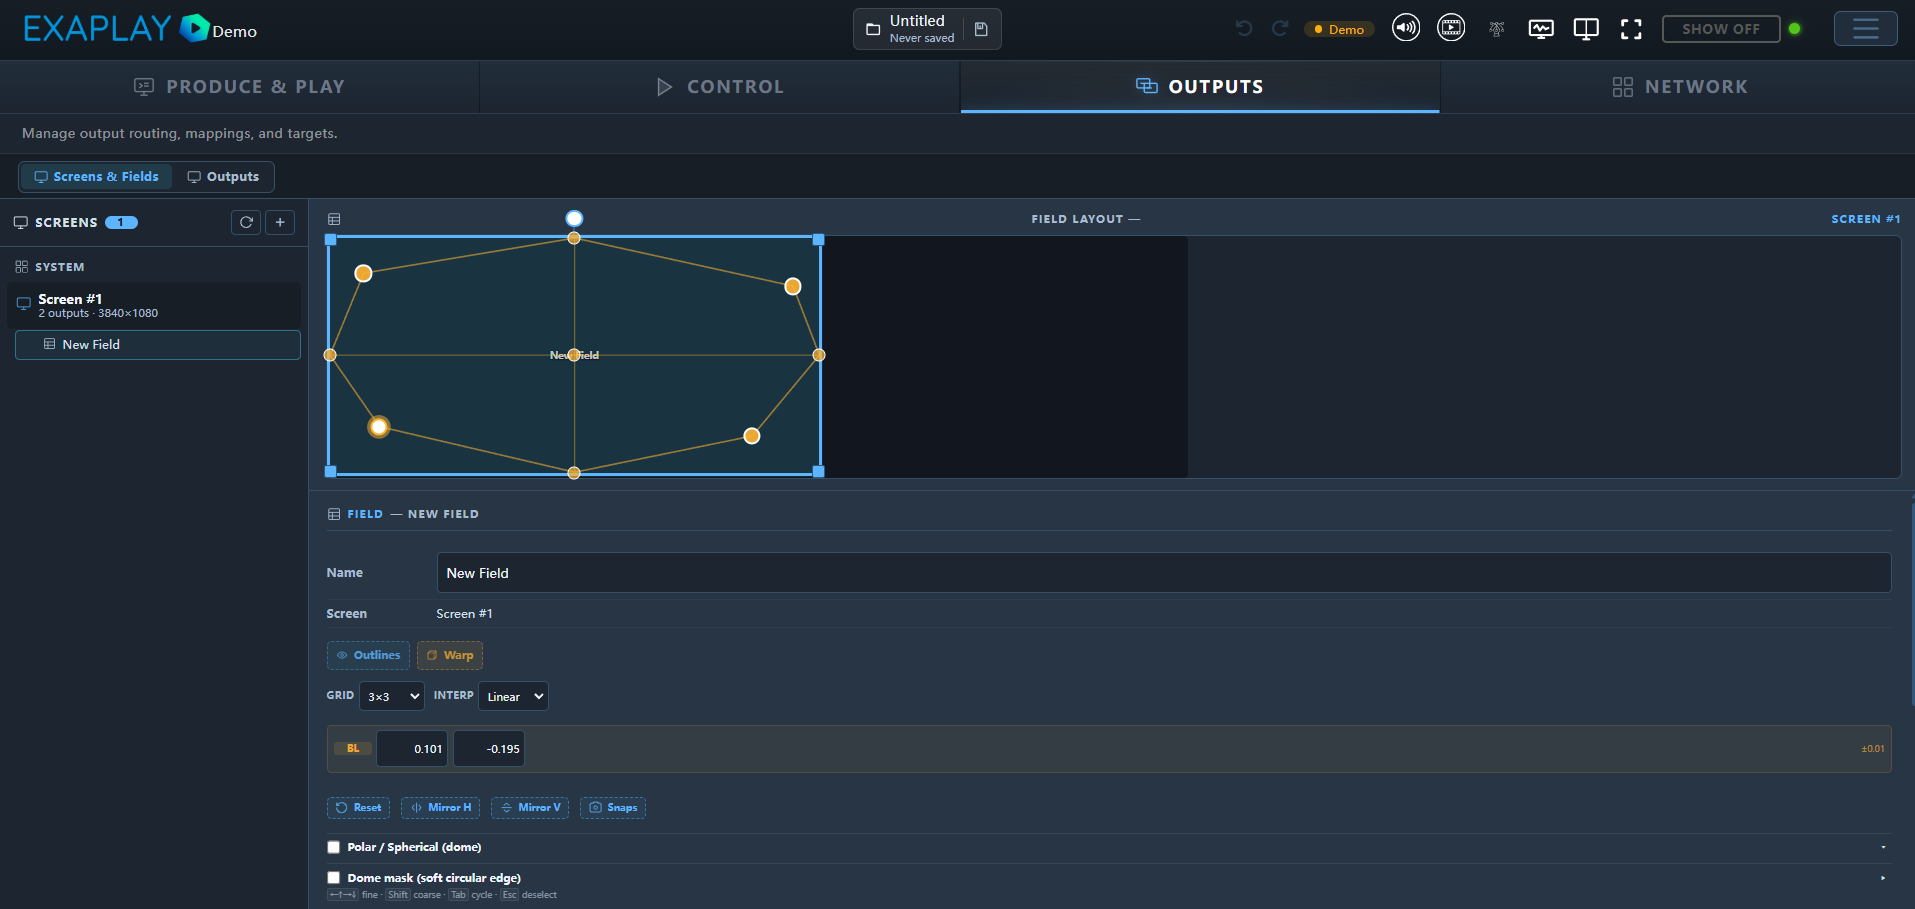
For simple single-projector corrections without VIOSO Calibrator, Exaplay 3 includes a built-in grid warp editor.
Open it from Config → Outputs → Edit Warp.
Control Points
The editor shows a grid of control points overlaid on the output. Each point can be moved to correct the geometry at that location.
| Action | How |
|---|---|
| Select point | Click the point |
| Move point (fine) | Arrow keys (0.01 unit steps) |
| Move point (coarse) | Shift + Arrow keys (0.1 unit steps) |
| Cycle points | Tab / Shift+Tab |
| Deselect | Escape or Enter |
| Reset all | Click the Reset button |
Interpolation Mode
Choose between Linear and Bicubic interpolation from the Interpolation drop-down. Bicubic produces smoother results but requires more GPU.
Edge Blending
Edge blending parameters are loaded from the VIOSO .vwf file. If you need to manually adjust the blend curve:
- Open Config → Outputs → Edge Blend.
- Adjust the Blend Width slider for each overlapping edge (0–100 %).
- Adjust the Gamma Curve to control the blend falloff shape.
Auto-Calibration (VIOSO)
If VIOSO AutoAlign is installed and a calibration camera is connected:
- Go to the Auto Calibration view (
/autocalibration). - Follow the on-screen wizard.
- The resulting
.vwffile is saved and loaded automatically.
Standalone Warp Widget
For quick on-site adjustments without opening the full editor, use the Standalone Warp Widget (/warpblend). This minimal view is optimised for touch-screen control on a tablet.