
Appearance
Theatre & Performing Arts
This guide covers a theatrical workflow: a scripted show with a precise Playlist of cues, timecode synchronisation, operator control, and multi-screen output for stage and set video.
Typical Setup
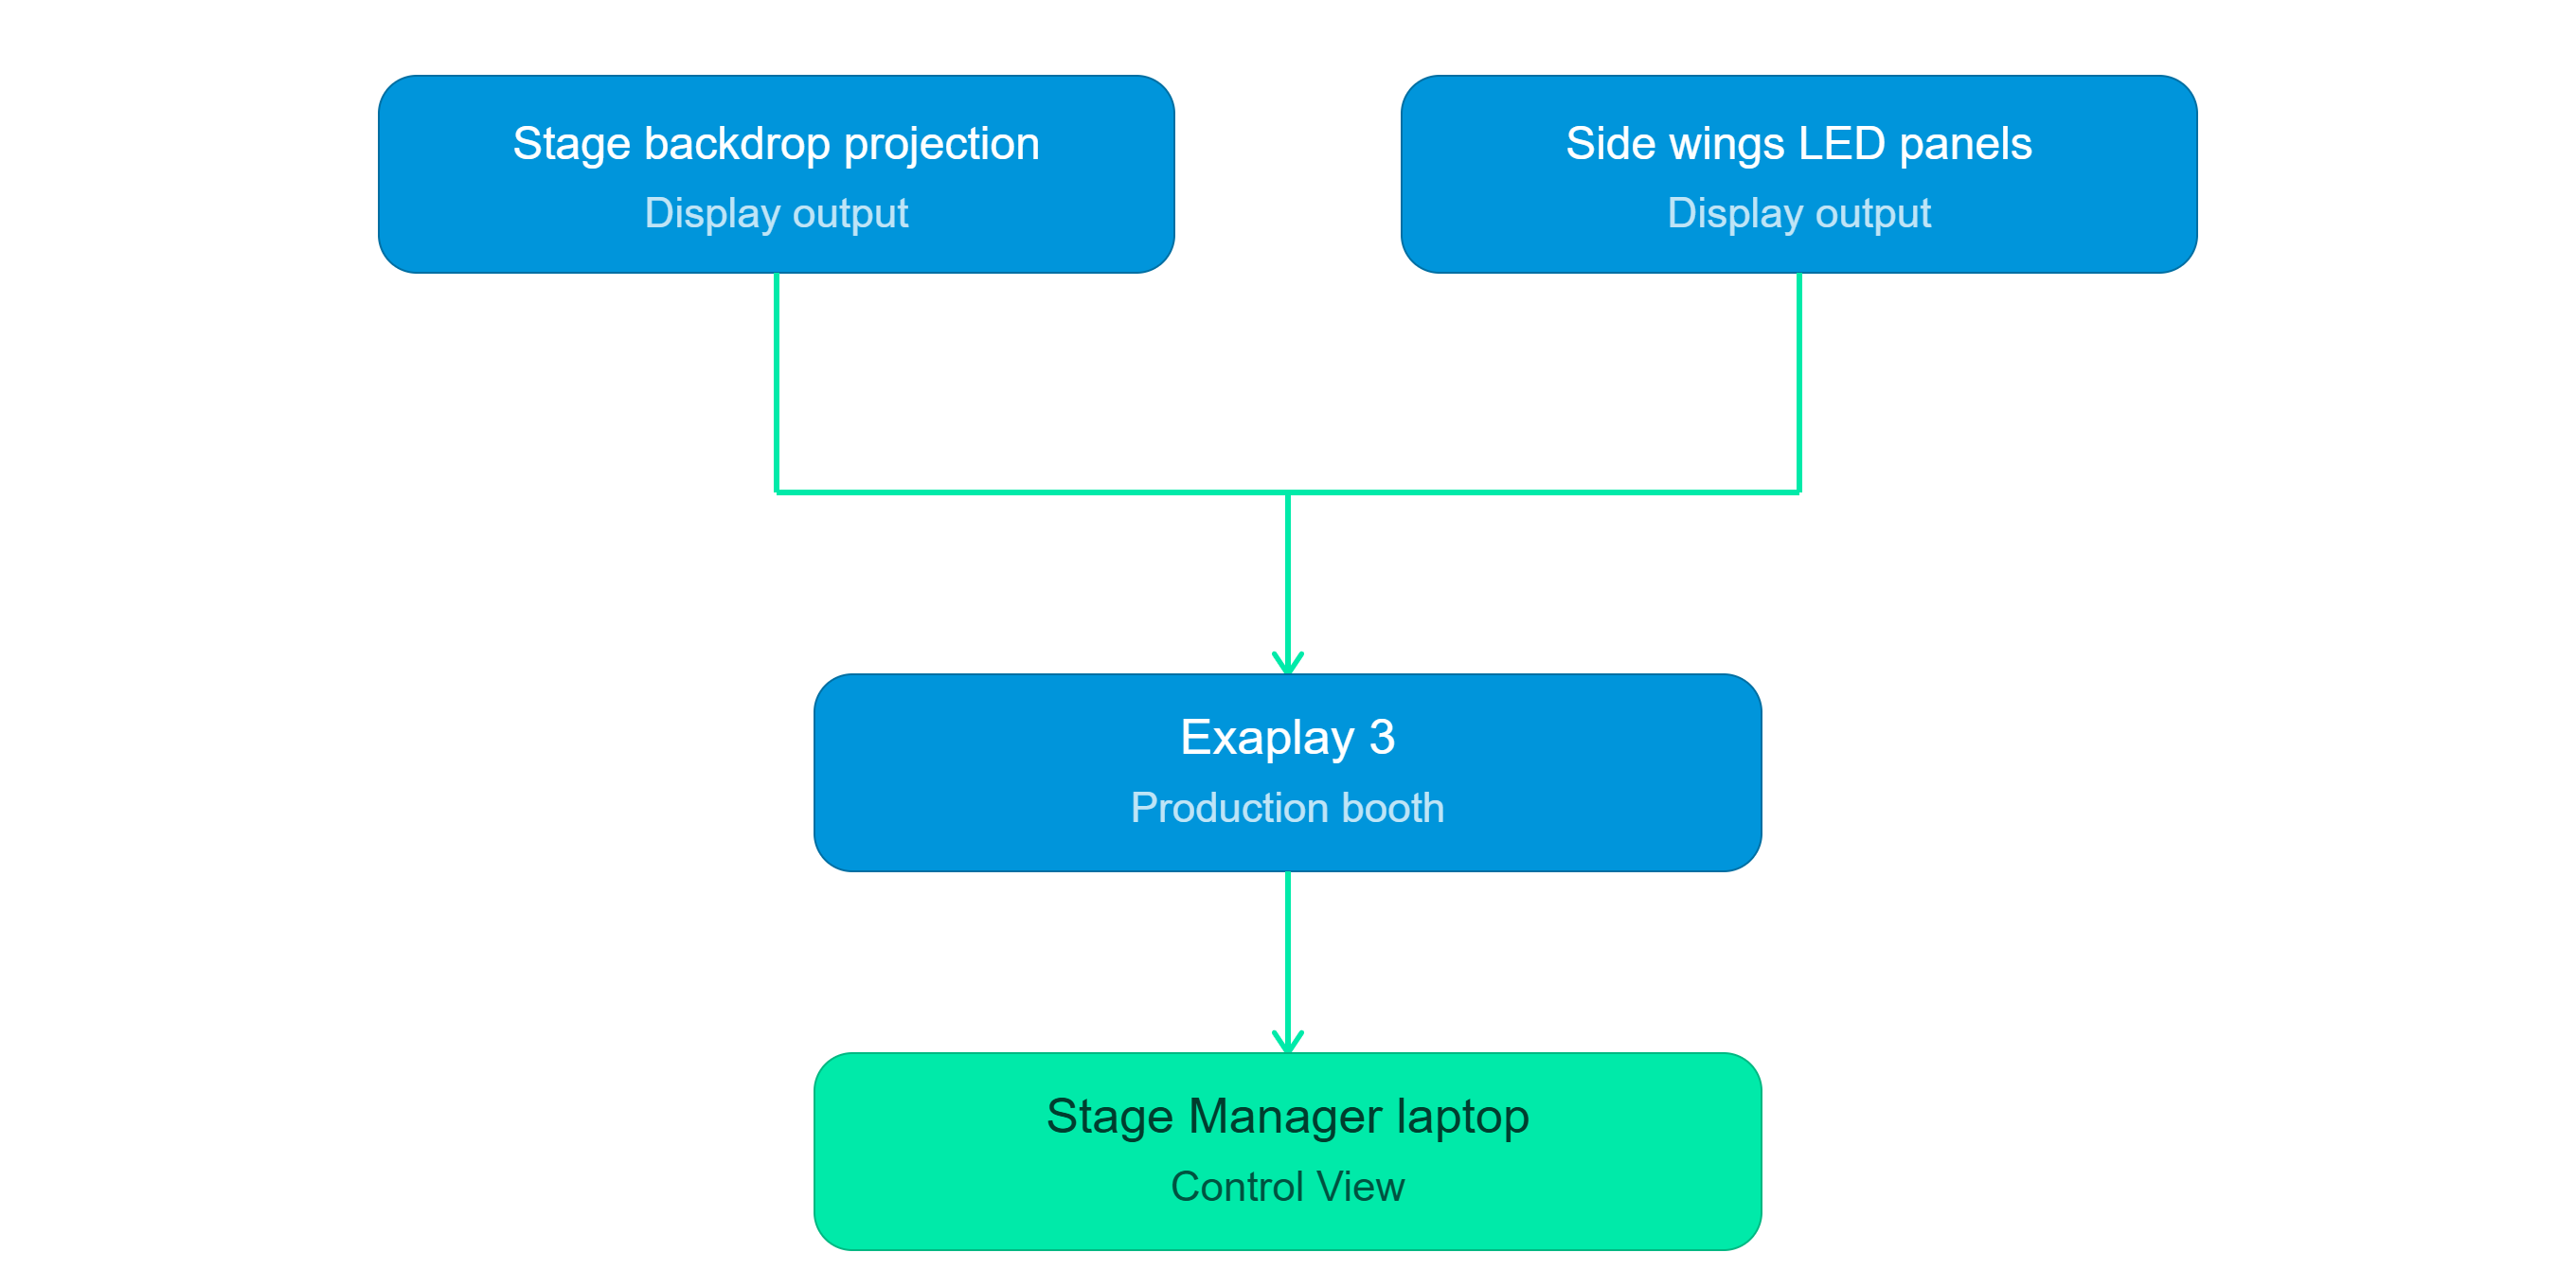
Phase 1 — Pre-Production
1.1 Receive the Script
Work through the script with the director and video designer to identify:
- Every video cue (scene transitions, backdrops, overlays)
- Timecodes if audio or music is pre-recorded and locked
- Cue numbering conventions (should match the stage manager's prompt script)
1.2 Organise the Show File
Create a folder structure that matches the script's act/scene structure:
MyPlay_2026/
├── MyPlay_2026.vpp
└── media/
    ├── act1/
    │   ├── sc01_exterior_day.mov
    │   ├── sc03_rain_window.mov
    │   └── sc05_train_departure.mov
    └── act2/
        ├── sc01_interior_night.mov
└── sc04_finale_abstract.mov1.3 Build the Compositions
For a typical theatrical show:
- BACKDROP composition — full rear projection surface
- WINGS_LEFT and WINGS_RIGHT — LED wing panels
- FLOOR (optional) — floor projection
1.4 Enter All Video Cues
For each cue identified in the script:
- Create a cue in the Playlist.
- Cue number: match the prompt script (e.g.
V1,V1.5,V2). - Name: descriptive label (e.g.
V3 — Rainstorm starts). - Action: choose one of:
Go to timecode— jump to a specific point on the timelineLoad composition— switch the backdrop to a different compositionFade to black— black out with a specific duration
1.5 Timecode Sync (if applicable)
If the show plays against a locked audio soundtrack:
- Set up LTC timecode from the audio playback system.
- In Exaplay: Config → Audio Settings → Timecode Input → Enable LTC.
- Confirm
TC: Lockedin the Transport bar during rehearsal.
All cue timecodes will now fire frame-accurately against the audio.
Phase 2 — Rehearsals
Technical Rehearsal
- Load the show file and start from Cue 1.
- Work through each cue with the director.
- Adjust:
- Cue timecodes (use
Edit Cueto update) - Transition durations
- Video start/end points (trim in the Inspector)
- Cue timecodes (use
- Use the Diagnostics Panel to verify performance during playback-heavy scenes.
Dress Rehearsal
- Hand the Control View URL to the stage manager.
- The stage manager uses the Go button to advance through cues, watching the stage.
- Note any timing adjustments needed.
Emergency Backup
Configure Auto-Heal so the show restores automatically if the system crashes mid-performance. See Auto-Heal & Watchdog.
Phase 3 — Show Operation
Stage Manager Interface
The stage manager operates from the Control View (/control):
[◀ BACK]  [GO ▶]

Cue V5 — Act 1 Scene 5 — Train Departure  ← CURRENT
Cue V6 — Interval Blackout                ← NEXT (highlighted)
Cue V7 — Act 2 Opening ← NEXT+1The stage manager presses Go at the correct point in dialogue or action. The cue fires and the next cue moves into position.
Calling a Cue Out of Order
Right-click any cue in the list and choose Fire Now to jump to it out of sequence. The Playlist does not advance — pressing Go next will fire the cue that was previously NEXT.
Fade to Black (Interval / Emergency)
Assign a hot key (e.g. F12) to a Fade to Black cue so the stage manager can black out instantly if needed.
Phase 4 — Post-Production and Archiving
- After closing night, save the final project.
- Use Export Project to create an archive ZIP containing the project and all media.
- Label the archive clearly (show title, venue, dates) and store it.