
Appearance
Live Events & Concerts
This guide covers a typical live music or festival workflow: multi-screen output, beat-synced visuals, and real-time cue triggering by an operator.
Typical Setup
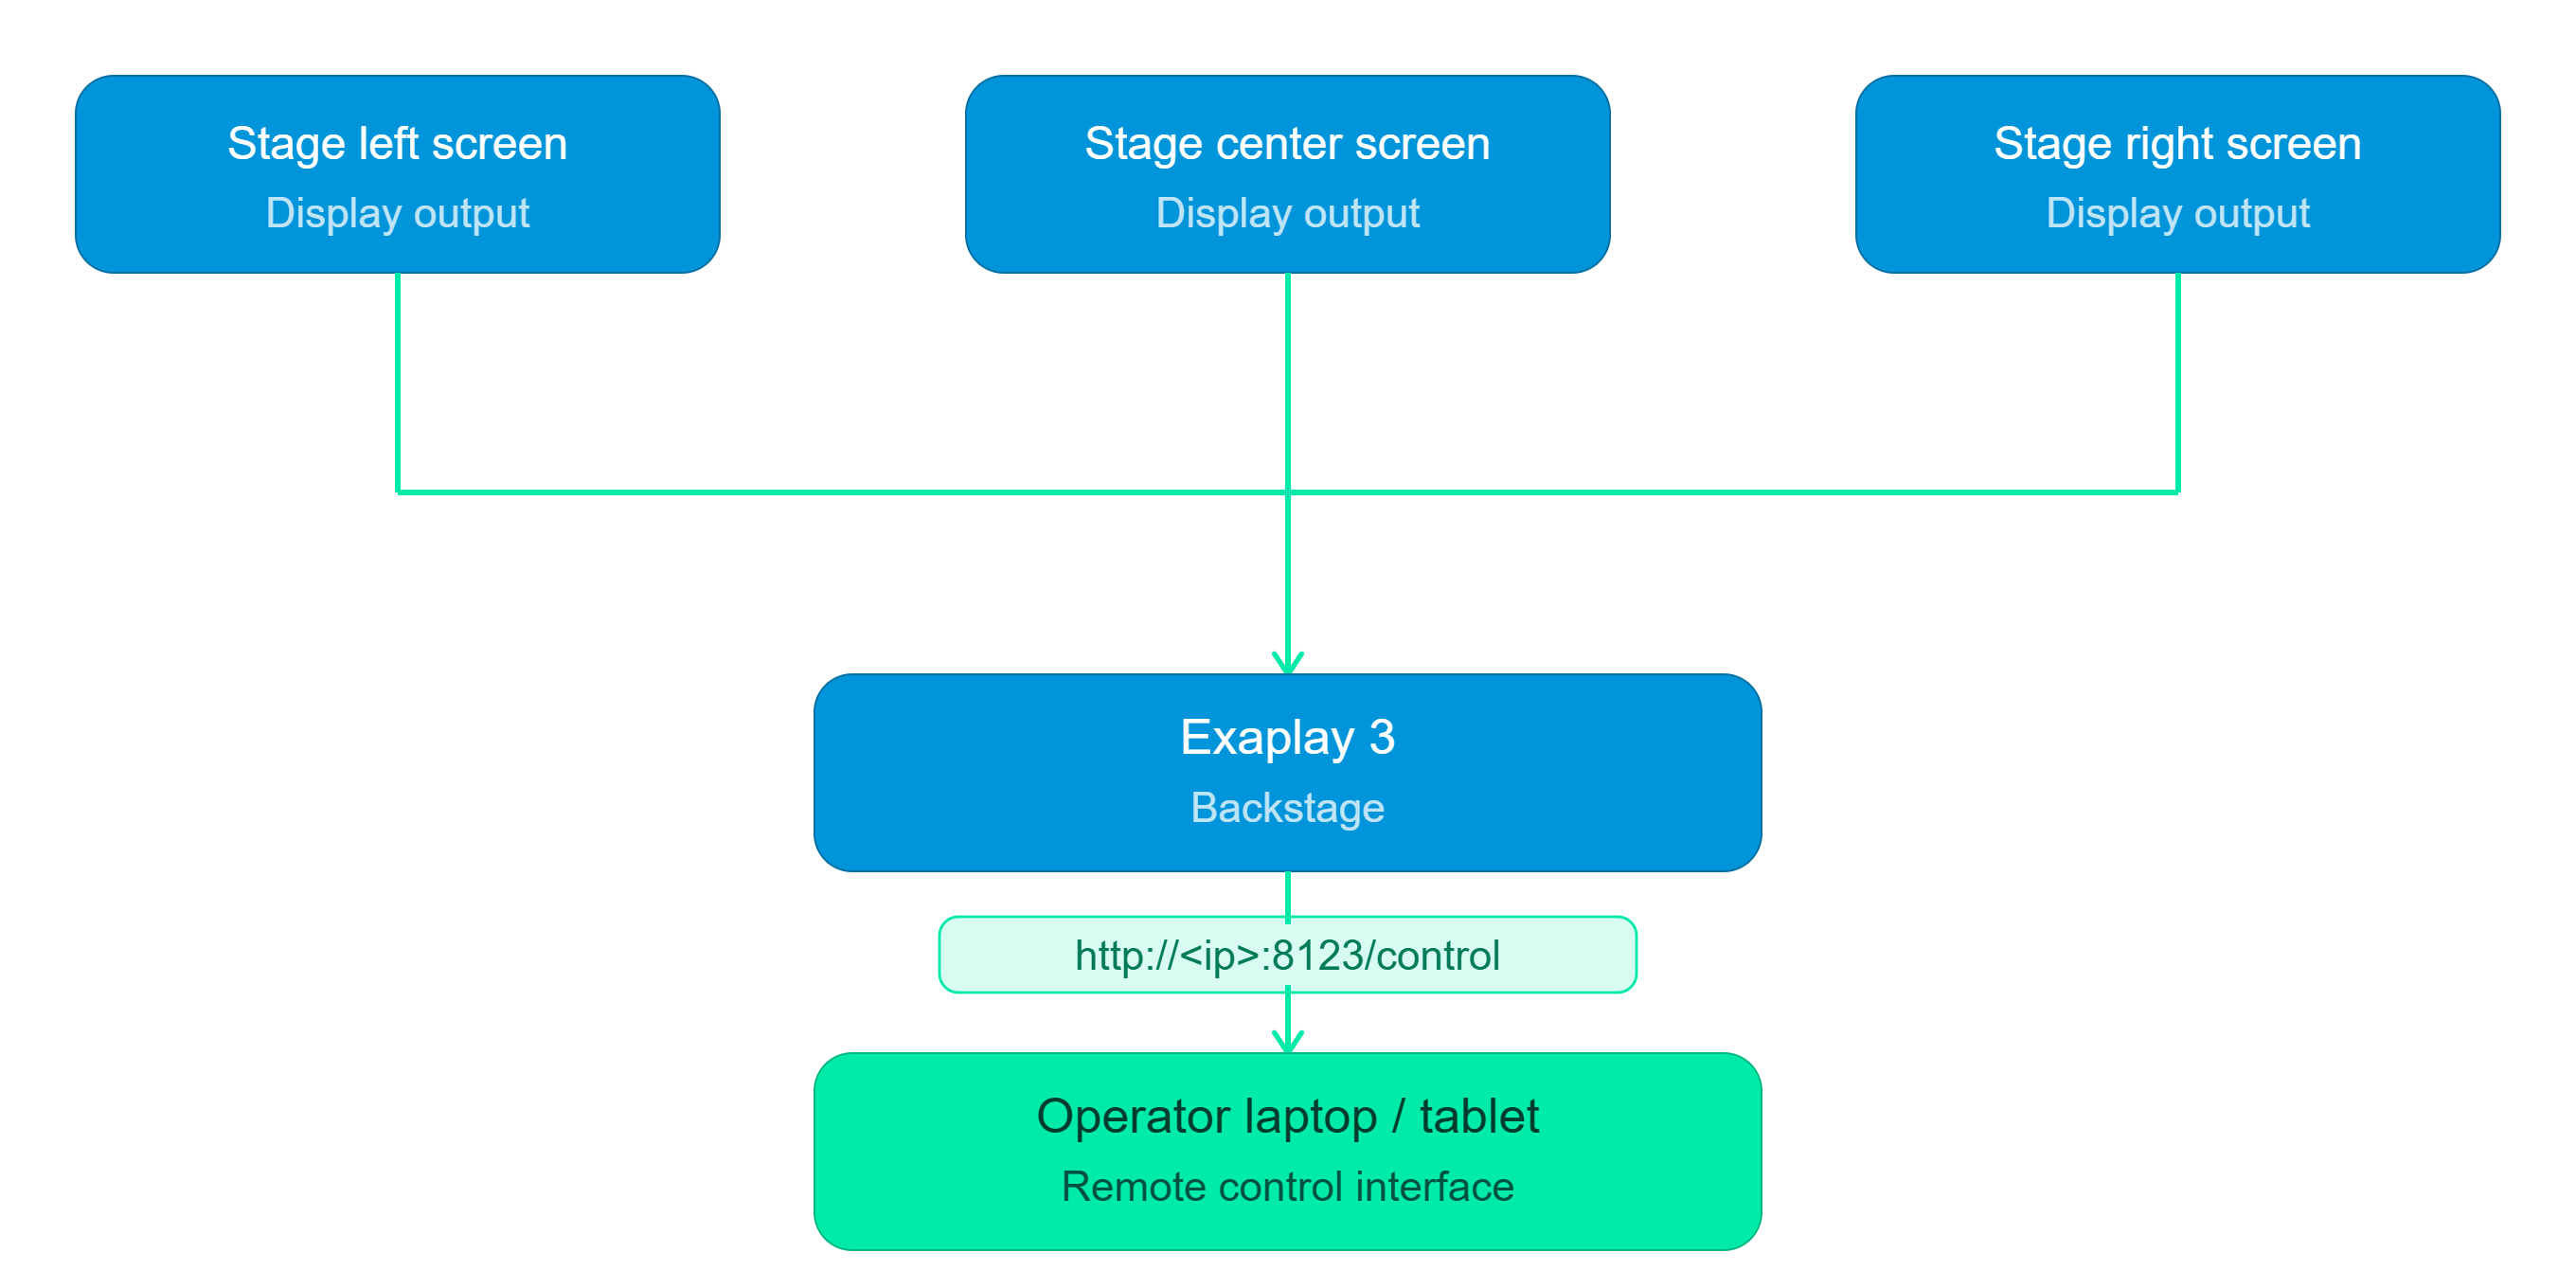
Phase 1 — Pre-Production (Days/Weeks Before Show)
1.1 Gather and Transcode Media
Convert all video assets to HAP Q (for 4K) or HAP (for 1080p) for best performance:
bash
# Using FFmpeg
ffmpeg -i input.mov -vcodec hap -format hap_q output.movOrganise media into clearly named folders:
media/
├── backgrounds/
├── artists/
├── transitions/
└── branding/1.2 Set Up Output Screens
- Open Config → Outputs.
- Add one output per physical screen/projector.
- Verify resolution and refresh rate match the display.
- If using VIOSO, load the
.vwfcalibration files.
1.3 Build Compositions
Create a composition for each screen. A typical concert might have:
- MAIN — full-stage content; 3–4 layers (background loop, artist video, overlay/logo, spare)
- LED_LEFT and LED_RIGHT — flanking screens with complementary or mirrored content
- FLOOR — floor projection (if applicable)
1.4 Import Media and Build the Playlist
For each song or show segment:
- Drag the background loop to Track 1 (loop enabled).
- Drag the artist-specific content to Track 2.
- Drag the transition/sting to Track 3 (or add it as a crossfade).
- Create a Cue in the Playlist:
- Name: Song title (e.g. "Set 1 — Song 3")
- Action:
Go to timecode(orPlay compositionfor separate comps) - Hot Key:
F1–F12for quick keyboard access
Phase 2 — Day of Show (Venue Setup)
2.1 Load the Show
exaplay3.exe -f "C:\Shows\Festival2026\main.vpp" -uiOr double-click the .vpp file (it's registered with Windows).
2.2 Verify Outputs
- For each screen, use Config → Outputs → Show Test Pattern to confirm signal, resolution, and alignment.
- Disable test patterns before doors open.
2.3 Calibrate Projectors (if applicable)
If using projection mapping:
- Open the PLAN tab to verify projector placement.
- Open the Warp Editor for each output and fine-tune control points on the actual surface.
- Enable Edge Blend if projectors overlap.
2.4 Soundcheck
- Start Exaplay playback on a test loop.
- Confirm audio is routing correctly to the PA system.
- If using LTC sync, verify TC: Locked appears in the Transport bar.
Phase 3 — Show Operation
During the Show
The Operator Control View (/control) is the primary interface during performance:
- The operator uses Space or the Go button to step through cues.
- F1–F12 (if hot keys are assigned) let the operator fire cues without looking at the screen.
- The screen status grid gives an at-a-glance check of all outputs.
Emergency Procedures
| Situation | Action |
|---|---|
| Wrong cue fired | Press Backspace to step back, then press Go for the correct cue |
| Blank output | Check DiagnosticsPanel for errors; press Stop, then Play to restart |
| Audio dropout | Check volume fader; verify ASIO buffer is not overrunning |
| System freeze | If Auto-Heal is enabled, the watchdog will restart Exaplay automatically (typically within 10 seconds) |
Phase 4 — After the Show
- Press Stop to clear all outputs.
- Save the project (
Ctrl+S) with any last-minute changes. - Use Export Project to create a portable archive.
- Review the engine log (
Documents\Exaplay3\logs\) for any errors to investigate.